 X-Ray Drilling of Reference Holes
The Process 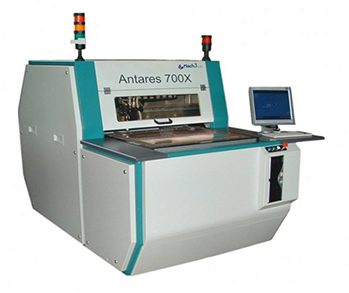
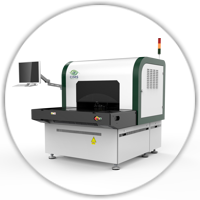
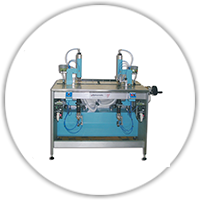
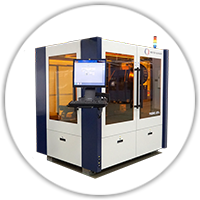
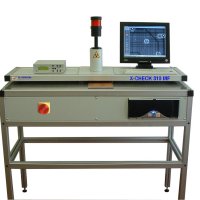
Typically the reference holes are used to inset pins, which will be used to clamp the panel with the accurate alignment to the X, Y axes of the drilling machine. To this aim, the reference holes must be executed with best optimization respect to the inner lay-up of the multi-layer panel. The process to drill reference holes is made in two steps: 1) In the first step the machine will detect the centers of those targets that have been chosen to represent the internal lay-up. The enlargement/shrinking, due to the previous pressing process, as well as the registration errors are considered. 2) In the second step the programmed holes will be executed in optimized positions based on the detected topography, but at a definite reciprocal distance, as required for pins. The drilling is performed by a pneumatic spindle using a standard drilling tool with ring. The rotation speed is fixed at 30.000 rpm. The panel is clamped by vacuum area at the center of table. The table is made by a material that is X-Ray transparent and offers the possibility of inspecting any kind of panels or PCB's in any point, including the vacuum area, which is also X-ray transparent. The software offers a very friendly and self-explaining interface toward the operator.

ADVANTAGES
- High flexibility: Arbitrary number of Targets (min. 2) and holes
- Optimised hole drilling (geometrical error of the board is included into hole position calculation)
- Fast cycle time
- Also useful for measuring panels only (measuring data can be easily exported)
- Very userfriendly software
- Automatic unloading system of panels outside specification (also in manual machine)
- Full Automation Capability
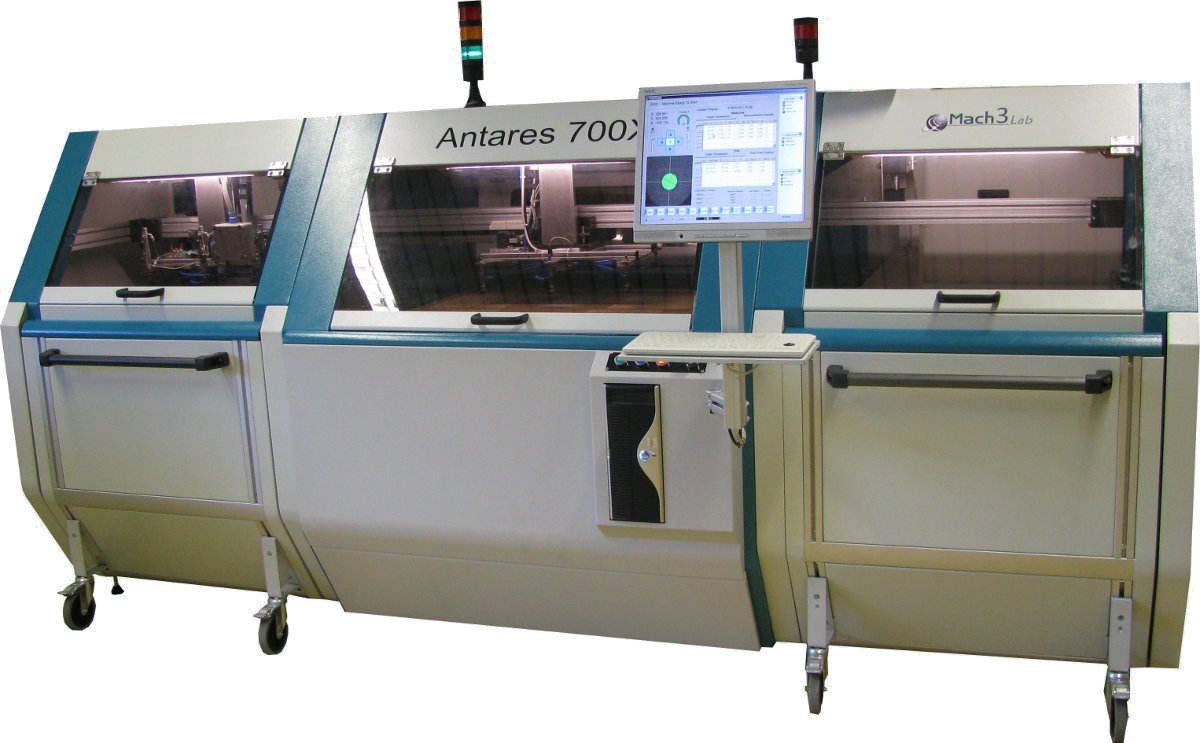
PANEL FEATURES
- Size: max 700 X 600mm, min: 300 x 200mm
- Tot. panelthickness: max: 6mm
- Target shape: round
- Hole diameter: 1-4mm
- Max hole count: unlimited
MACHINE FEATURES
- Max. axis speed: 60 m/min
- Position transducer type: optical scales
- Position transducer resolution: 1µ
- Position accuracy: 3µ
- X/Y stroke: 800/900mm
- Z axis movement: pneumatical
- Z stroke: 40mm
- Z drilling speed: 0,2 - 2 m/min (adjustable)
- Spindle type: air
- Speed: 30.000 RPM
- Tool change: manual
- Tool diameter: 1 - 4mm
- Panel clamping systems: vacuum table (venturi)
- Chips aspiration: venturi
- Panel loading: manual
- Panel unloading: automatic
- Panel pre alignment: line laser
- Unloading trolley capacity: max. 100mm stackingheight
- X-ray sensor System: CCD + scintillator
- Field of view x-ray sensor: 12,5 x 9,6mm
- Vision system accuracy: +/- 5µ
- Targetcenter repeatability: +/- 4µ
- Cycletime (2 cargets, 3 holes): 15 sec
- Loadingtime: 5 sec
- Drilling accuracy optimised holes: max. +/- 20µ
- Drilling accuracy drill on target: max. +/- 15µ
- Productivity: 2,5 panels per minute
- Electrical connection: connection power= 380V – 3KW, 3PH + GND
- Compressed air connection: pressure= 6 - 10 Bar, consumption= 400 NL/min (average)
- Size: L 1535mm x W 1520mm x H 1400mm
- Weight: 800kg
RELATED PRODUCTS
All information subjected to change without notice!
For more information, visit the website or send us your information request.


