Slide background
Slide background
Slide background

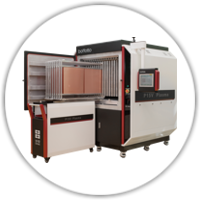
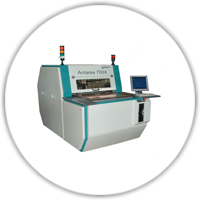
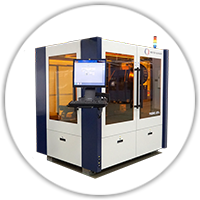
Phoenix MDI

CIMS 2 2018AOI for inspection of mechanical drills down to 150 µm in diameter.

Phoenix MDI, CIMS latest generation of AOI system, is designed for inspection of mechanical drills on HDI and multi-layer PCB. It is capable to scan mechanical drills down to 150 µm in diameter.

The system’s state of the art optical technology Microlight™ is specifically designed and calibrated to achieve optimal image acquisition of laser drills both before and after plating as well as conformal mask applications. Optimized performance is achieved by combining superior image quality with customizable detection algorithms.

Equipped with the state-of-the-art image acquisition and advanced software capabilities, the Phoenix product family is renown for its exceptional detection achieved with lowest possible false calls rate.
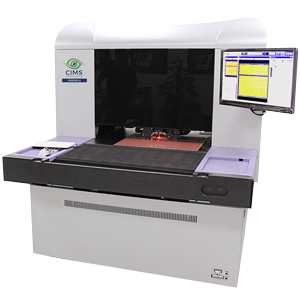
Phoenix LV 8pngPhoenix MDI is powered by Spark™ – an innovative cross-platform detection engine.

Basic functionalities include

  • Multi-Step and Multi-Zone for best detection policy set-up per zone
  • Micro Inspection and metrology engine
  • Fully automated set-up
  • Variable continuous resolution defined automatically
  • Cad Analyzer creates best reference for detection
  • Dynamic Job enabling operators to instantly change:
    • resolution, steps, parameters on the AOI
  • Filtering system – Inspection results can be re-processed on AOI / CVR and present defects immediately after filtering
  • Full automatic (BLACK BOX) Data Processing and Preparation from CAM Station

 System highlights

  • New linear motors for smooth & silent motion
  • Robust structure
  • Automated vacuum table
  • Microlight illumination
  • 64 bit based firmware
  • Powerful processors to handle high density PCB
  • Compatible with front or back L/U automation
  • Simple and quick setting for new jobs

Optional Features

  • +2DM metrology - panel dimensions measurement
  • +2CD metrology - 2D measurments of circuit elements
  • CDB/CDBIC - defects classification and virtual defects mapping
  • VVS - virtual verification system

   microlight spark


All information subject to change without notice!

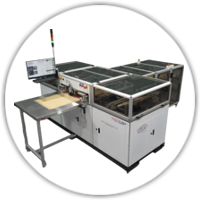
Phoenix Touch

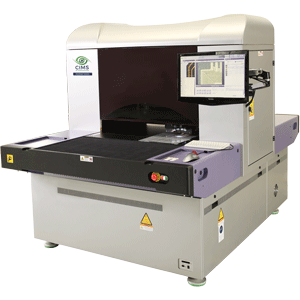
CIMS 2 2018AOI for inspection of touch screen panels down to 25 µm line/space width.

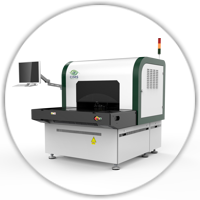
Phoenix Touch, CIMS latest generation of AOI system, is designed for inspection of conductors on touch screen panels. It is capable to scan down to 25 µm line/space width technology.

The system’s state of the art optical technology Microlight™ is specifically designed and calibrated to achieve optimal image acquisition of laser drills both before and after plating as well as conformal mask applications. Optimized performance is achieved by combining superior image quality with customizable detection algorithms.

Equipped with the state-of-the-art image acquisition and advanced software capabilities, the Phoenix product family is renown for its exceptional detection achieved with lowest possible false calls rate.

Phoenix Touch 8pngPhoenix Touch is powered by Spark™ – an innovative cross-platform detection engine.

Basic functionalities include

  • Multi-Step and Multi-Zone for best detection policy set-up per zone
  • Micro Inspection and metrology engine
  • Fully automated set-up
  • Variable continuous resolution defined automatically
  • Cad Analyzer creates best reference for detection
  • Dynamic Job enabling operators to instantly change:
    • resolution, steps, parameters on the AOI
  • Filtering system – Inspection results can be re-processed on AOI / CVR and present defects immediately after filtering
  • Full automatic (BLACK BOX) Data Processing and Preparation from CAM Station

 System highlights

  • New linear motors for smooth & silent motion
  • Robust structure
  • Automated vacuum table
  • Microlight illumination
  • 64 bit based firmware
  • Powerful processors to handle high density PCB
  • Compatible with front or back L/U automation
  • Simple and quick setting for new jobs

Optional Features

  • +2DM metrology - panel dimensions measurement
  • +2CD metrology - 2D measurments of circuit elements
  • CDB/CDBIC - defects classification and virtual defects mapping
  • VVS - virtual verification system

   microlight spark


All information subject to change without notice!

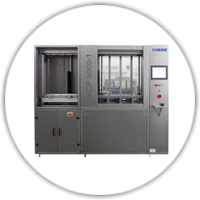
2D Metrology

CIMS 2 20182D metrology is CIMS technology for accurate measurements taken on the surface of a PCB. 2D metrology options are integrated with CIMS AOI systems becoming a part of inspection cycle, eliminating the need for a separate process.

CIMS offers two types of 2D metrology:

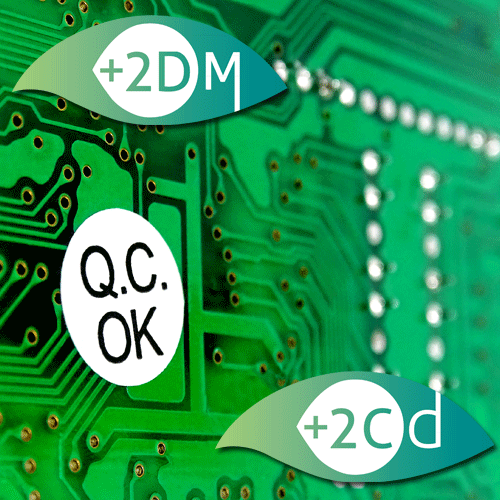
+2CD: real time micro-measurements of individual PCB elements, such as traces or pads, with up to ±3 micron accuracy (subject to surface condition). The measurements can be taken manually or automatically in pre-defined locations such as coupons or individual circuit elements.

+2DM: AOI integrated macro-measurements of an entire panel in order to determine any dimensions violation. This option is used to automatically calculate stretch factor by measuring distances between targets in each corner of a panel. The measurement can be taken manually or automatically after each scan.

HighlightsAdd on 2D

  • Integration with CIMS AOI systems
  • Eliminates external measurement process
  • Fast and reliable
  • Provides immediate feedback and live alerts
  • Data collection and output option
  • Pre-programmed offline
  • Automatic measurements of line’s top and bottom width

 Optional Features

  • Each 2D option are supplied separate or as a bundle
  • Can be bundled with 3D measurement capabilities
  • CDB/CDBIC connectivity – defects classification and virtual defects mapping
  • Data output options

   microlight spark


All information subject to change without notice!

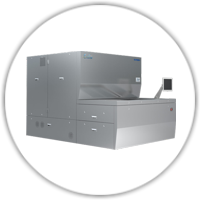
Phoenix Large Table

CIMS 2 2018AOI for large panel inspection with min line/space down to 40 µm.

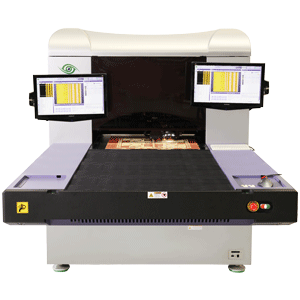
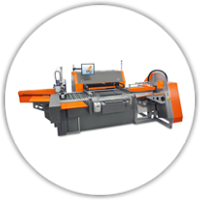
Phoenix LT, CIMS latest generation of AOI system, is designed for inspection of large panel of up to 914 mm x 1,067 mm( 36″ x 42″). It is capable to scan down to 40 µm line/space width technology.

The system’s state of the art optical technology Microlight™ is specifically designed and calibrated to achieve optimal image acquisition of laser drills both before and after plating as well as conformal mask applications. Optimized performance is achieved by combining superior image quality with customizable detection algorithms.

Equipped with the state-of-the-art image acquisition and advanced software capabilities, the Phoenix product family is renown for its exceptional detection achieved with lowest possible false calls rate.

Phoenix LT 8pngPhoenix LT is powered by Spark™ – an innovative cross-platform detection engine.

Basic functionalities include

  • Multi-Step and Multi-Zone for best detection policy set-up per zone
  • Micro Inspection and metrology engine
  • Fully automated set-up
  • Variable continuous resolution defined automatically
  • Cad Analyzer creates best reference for detection
  • Dynamic Job enabling operators to instantly change:
    • resolution, steps, parameters on the AOI
  • Filtering system – Inspection results can be re-processed on AOI / CVR and present defects immediately after filtering
  • Full automatic (BLACK BOX) Data Processing and Preparation from CAM Station

 System highlights

  • New linear motors for smooth & silent motion
  • Robust structure
  • Automated vacuum table
  • Microlight illumination
  • 64 bit based firmware
  • Powerful processors to handle high density PCB
  • Compatible with front or back L/U automation
  • Simple and quick setting for new jobs

Optional Features

  • Fi - Final inspection of finished bare boards
  • +2DM metrology - panel dimensions measurement
  • +2CD metrology - 2D measurments of circuit elements
  • LDI - laser drill inspection
  • CDB/CDBIC - defects classification and virtual defects mapping
  • VVS - virtual verification system

   microlight spark


All information subject to change without notice!
3D Metrology

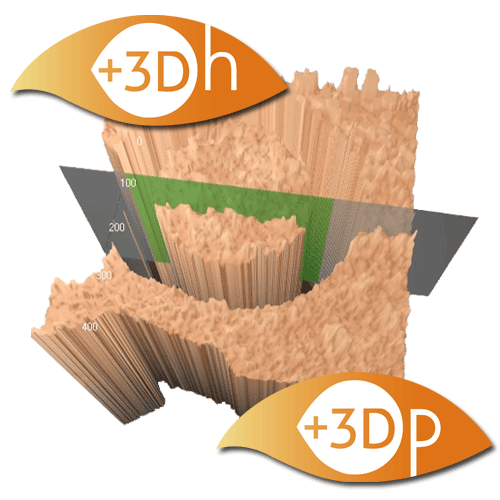
CIMS 2 20183D metrology is CIMS technology for accurate three dimensional measurements of individual elements of a PCB circuit. 3D metrology options can also be integrated with selected CIMS AOI systems providing a live control loop for the purposes of quality assurance.

CIMS offers two types of 3D metrology:

+3DH: real time 3D-measurements of a height or depth of individual PCB elements achieving up to ±2 micron accuracy (subject to surface condition of a measured element). The measurements can be taken manually or automatically in pre-defined locations such as coupons or individual circuit elements.

+3DP: real time 3D profiling of individual PCB elements with up to ±1 micron accuracy (subject to surface condition of a measured element). This option is commonly used for measuring depth of dimples resulting from plating over laser vias. +3DP allows users to detect quality problems related to a specific process and provide data necessary for corrective action.

HighlightsAdd on 3D

  • Integration with CIMS AOI systems
  • Eliminates external measurement process
  • Fast and reliable
  • Provides immediate feedback and live alerts
  • Data collection and output option
  • Pre-programmed offline

Optional Features

  • Each 3D option are supplied separate or as a bundle
  • Can be bundled with 2D measurement capabilities
  • CDB/CDBIC connectivity – defects classification and virtual defects mapping
  • Data output options

    microlight spark


All information subject to change without notice!
Page 5 of 6

About Adeon

At Adeon we believe that it is the quality of our work that placed us in our current position, and quality is what we try to improve with everything we do. European PCB manufacturers are often challenged to produce many different designs and technology levels every day. This makes it challenging to select and provide equipment that is capable of doing that. Our goal is to offer the best service and support against affordable rates to the highest standards to help our customers to stay at the forefront of technological developments.

Upcoming events

Contact

Weidehek 26
Industrial Area Haagse Beemden # 4530
NL-4824 AS Breda
The Netherlands
Telephone: +31 (0)76 541 00 08
Fax: +31 (0)76 542 50 59
E-mail: info@adeon.nl

More...